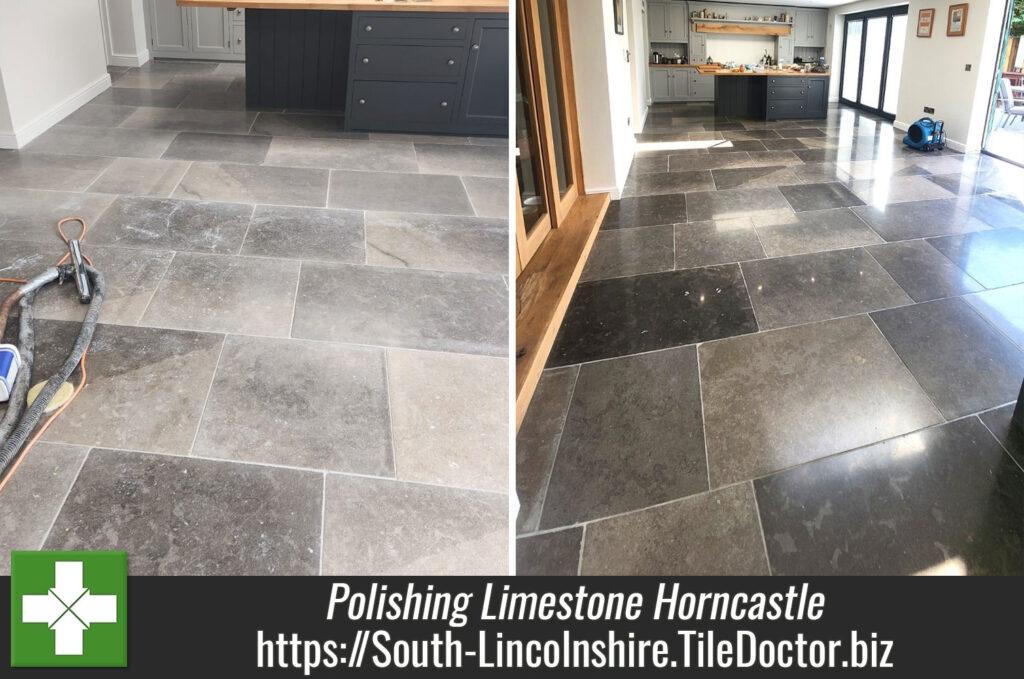
Dull and Scratched Limestone Floor Polished in Horncastle
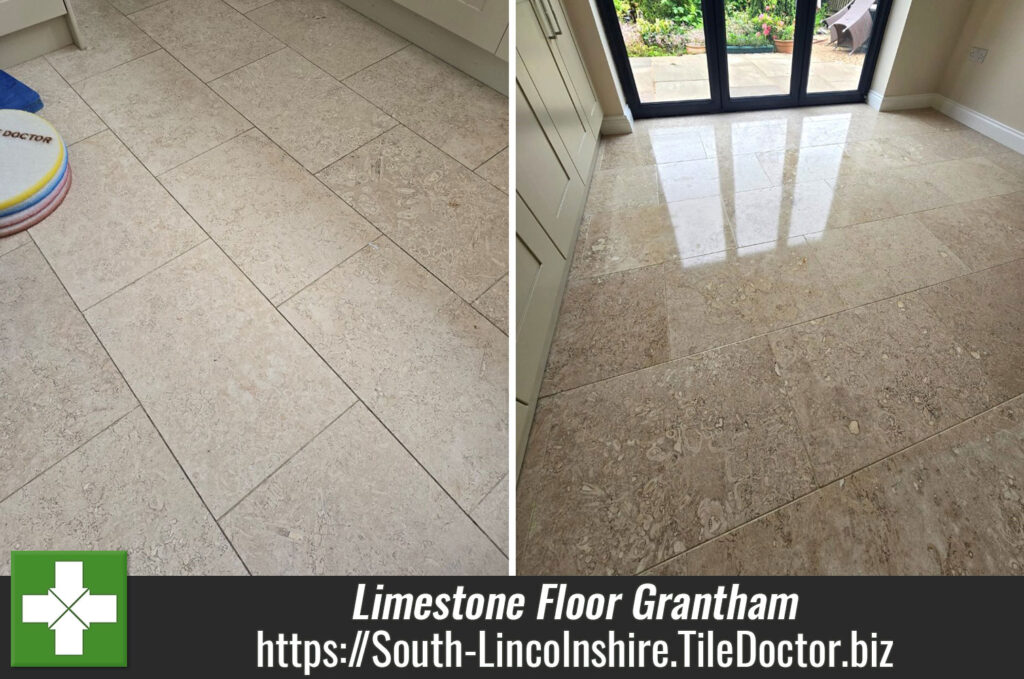
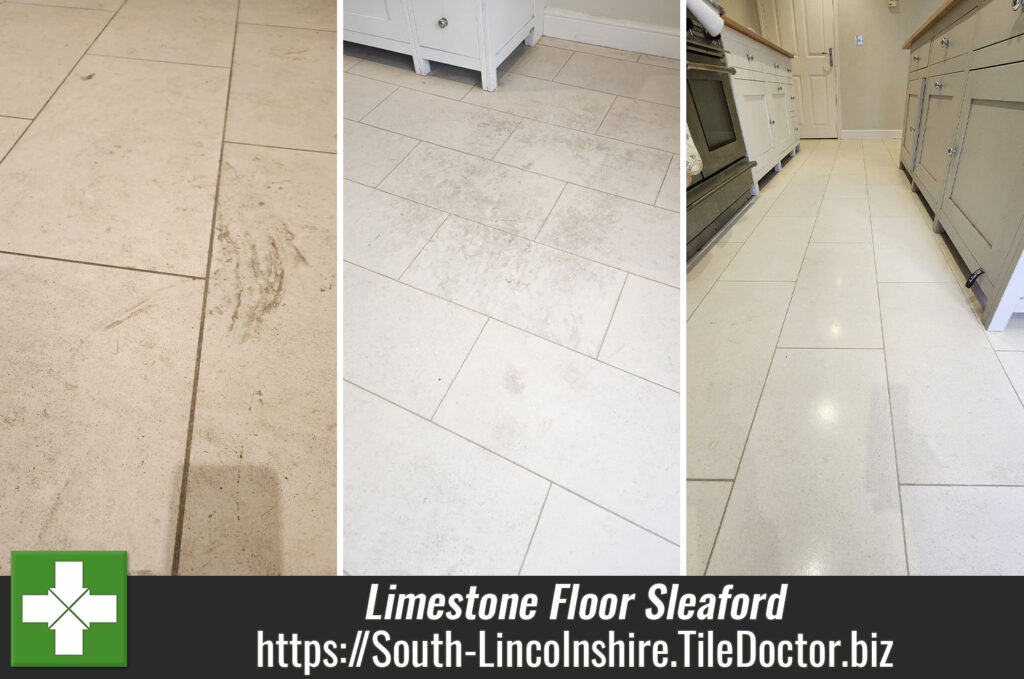
Here we have a beautiful Limestone tiled floor installed in the kitchen and adjacent dining area at a property in Horncastle. We were asked to polish the floor in order to bring up the finish and also remove the fine scratched and etching caused by furniture and pets.
 |
 |
Polished stone floors like this one do need regular polishing to keep them looking their best and, in this case, it had been a while since had last been done. After measuring up and investigating a few problem areas we discussed the plan to renovate the floor and worked out a quote for the work. Happy with the quote we set a date for my return.
Polishing Limestone Flooring
To remove the light scratches and bring up the polished appearance of the stone the best course of action is to hone the stone with a set of diamond burnishing pads of different grits. After adding protection to vulnerable areas, the burnishing work then started with a coarse 400-grit pad fitted to a rotary machine which had extra weight added to increase traction with the floor.

The 400-grit pad removes old sealers, light scratches and opens the pores in the stone so the dirt can be flushed out. Once the pad has been run over each tile several times the floor is rinsed with water and the soiling extracted with a wet vacuum.
The pad is then swapped out for a medium 800-grit and the process repeated and then again with a fine 1500-grit pad. These pads close the pores and build-up the polished appearance of the Limestone.
The burnishing process is then finished off with the application of a very fine 3000-grit pad which is applied in the same way but with only a little water sprayed into the floor.
Once complete a floor fan was setup and left to run overnight to ensure the floor would be nice and dry and ready for sealing the next day.
Saling a Polished Limestone Floor in Horncastle
On our return the Limestone was checked for moisture using a damp meter. This confirmed the stone was dry and work could then start to apply the sealer to the floor.
I used a colour enhancing sealer called Tile Doctor Colour Grow for this which helps bring out the natural colours and shades in the stone. It’s also an impregnator which means it works by soaking into the stone, occupying the pores, and thereby preventing dirt from residing there. This ensures dirt remains on the surface where it can easily be cleaned away.
 |
 |
Once complete the scratches were gone and the floor looked amazing with a lovely deep polish that reflected the light. The customer was delighted, and the new sealer will ensure the floor is easier to keep clean in future.

On the subject of maintenance cleaning, we recommend Tile Doctor Stone Soap for polished stone floors, it won’t impact the sealer, and contains a patina enhancer that will help maintain its appearance.
Limestone Tiled Floor Professionally Polished in Horncastle
Dull and Scratched Limestone Floor Polished in Horncastle Read More »